How to use MIA Toolkit
MIA Toolkit turns a drawer of hospital imaging CDs, USB sticks, and portal downloads into one organized, standards-compliant archive on a single USB drive your radiologist can open. This guide walks through every screen — and answers the common questions.
What it does
If you or a family member has collected imaging over the years — MRIs, CTs, X-rays from different hospitals — each disc is on its own and slowly degrading. MIA Toolkit copies them all to your computer, makes a plain-language inventory of every study, and builds one DICOM archive on a USB drive. Hand that single drive to your doctor and everything loads at once, in any PACS or viewer.
It is free and open source, works fully offline, and your data never leaves your computer — no account, no cloud, no tracking. It is not a diagnostic tool and does not replace professional radiological review.
Step by step
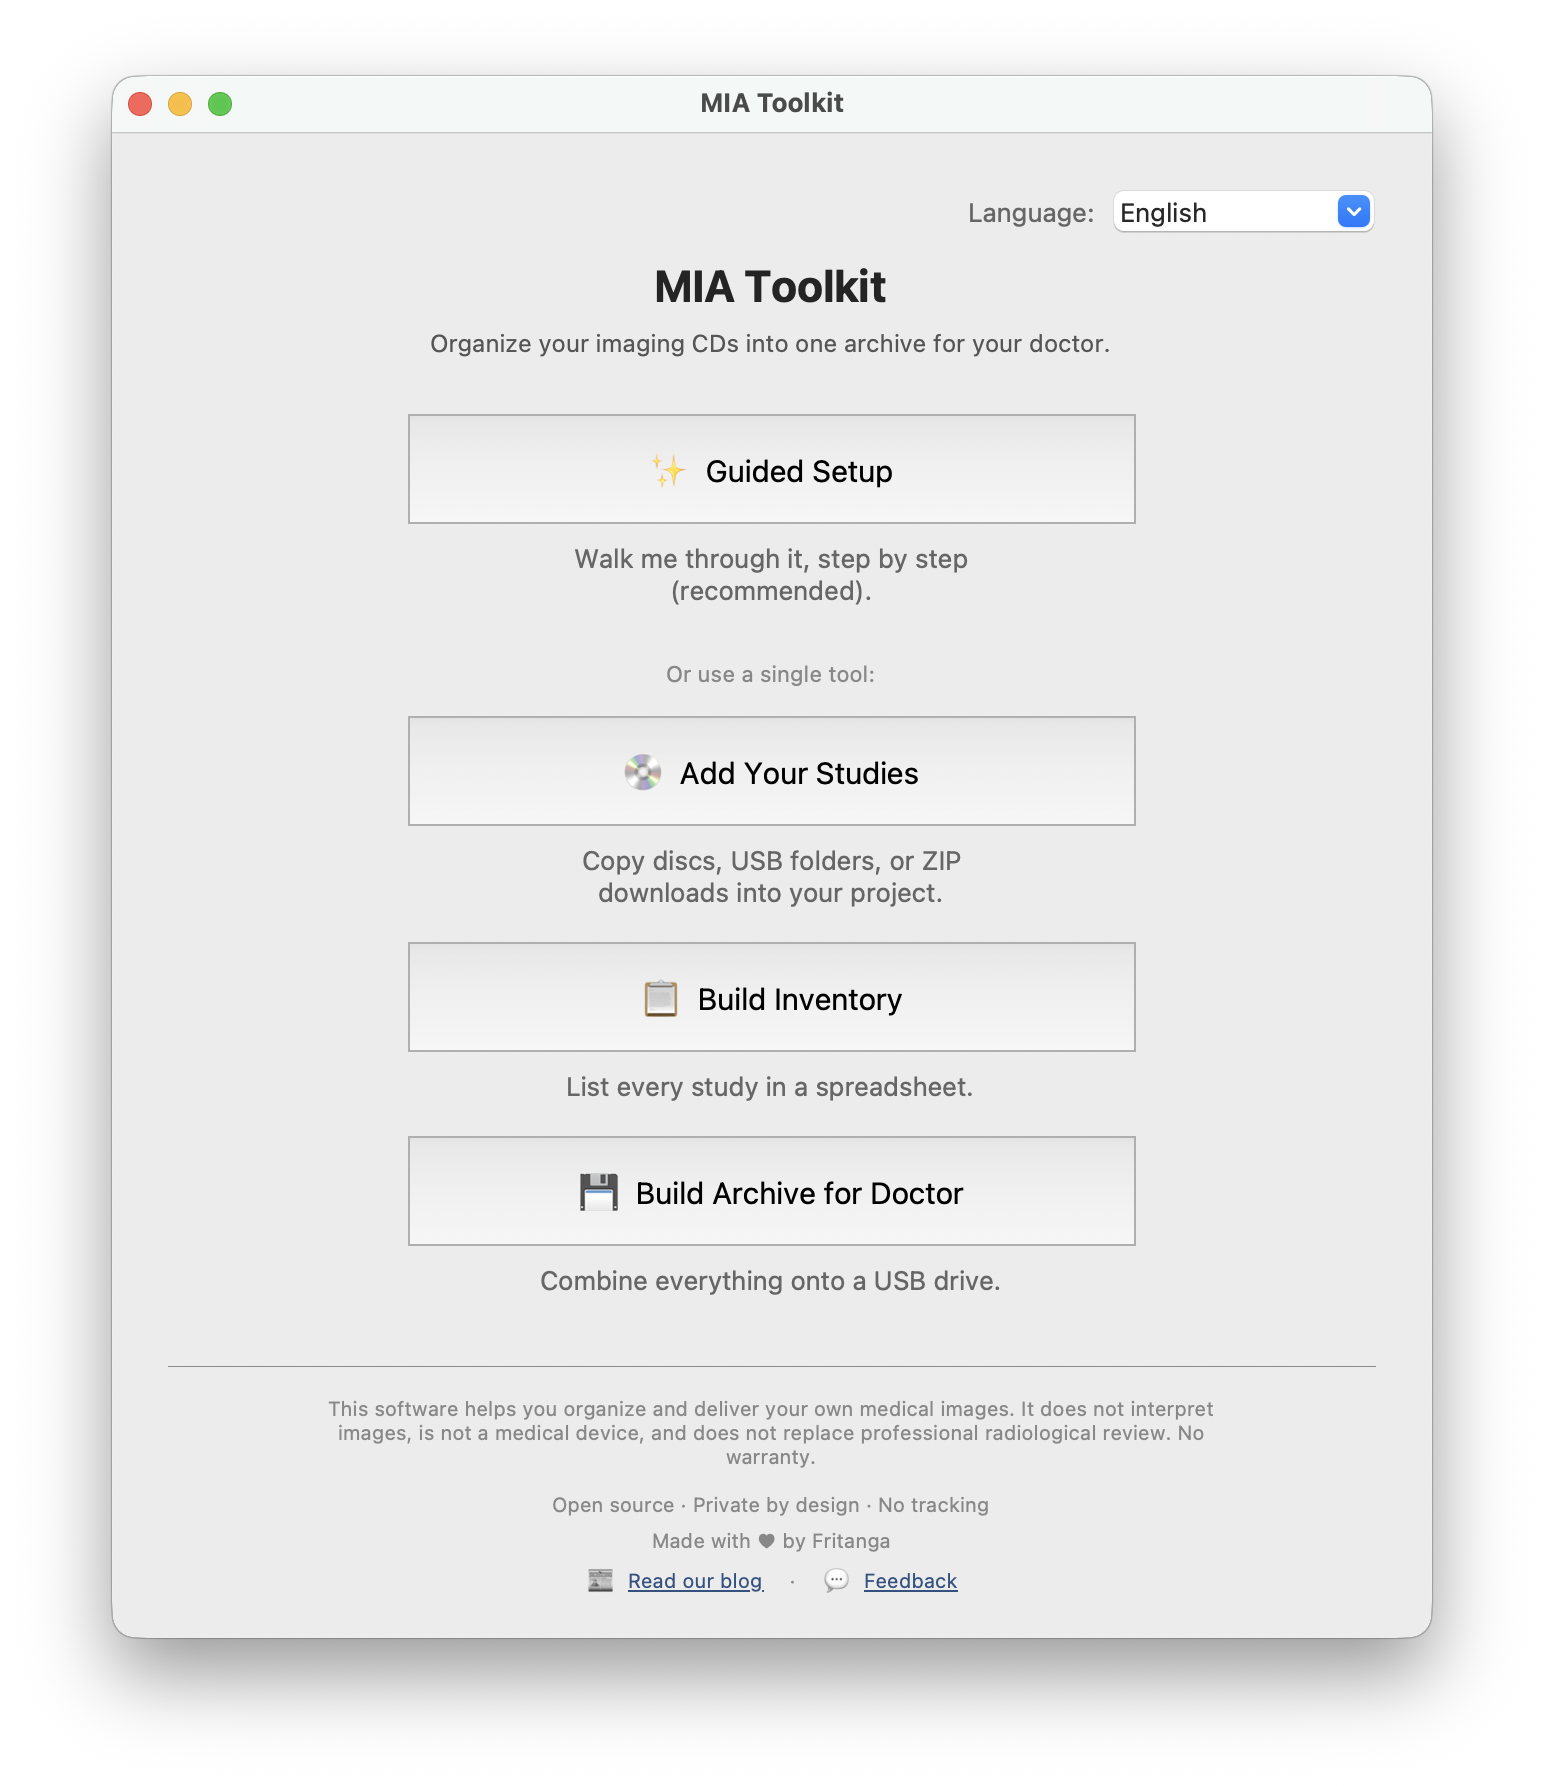
The easiest path is Guided Setup, which walks you through five stages. Here is each screen you will see.
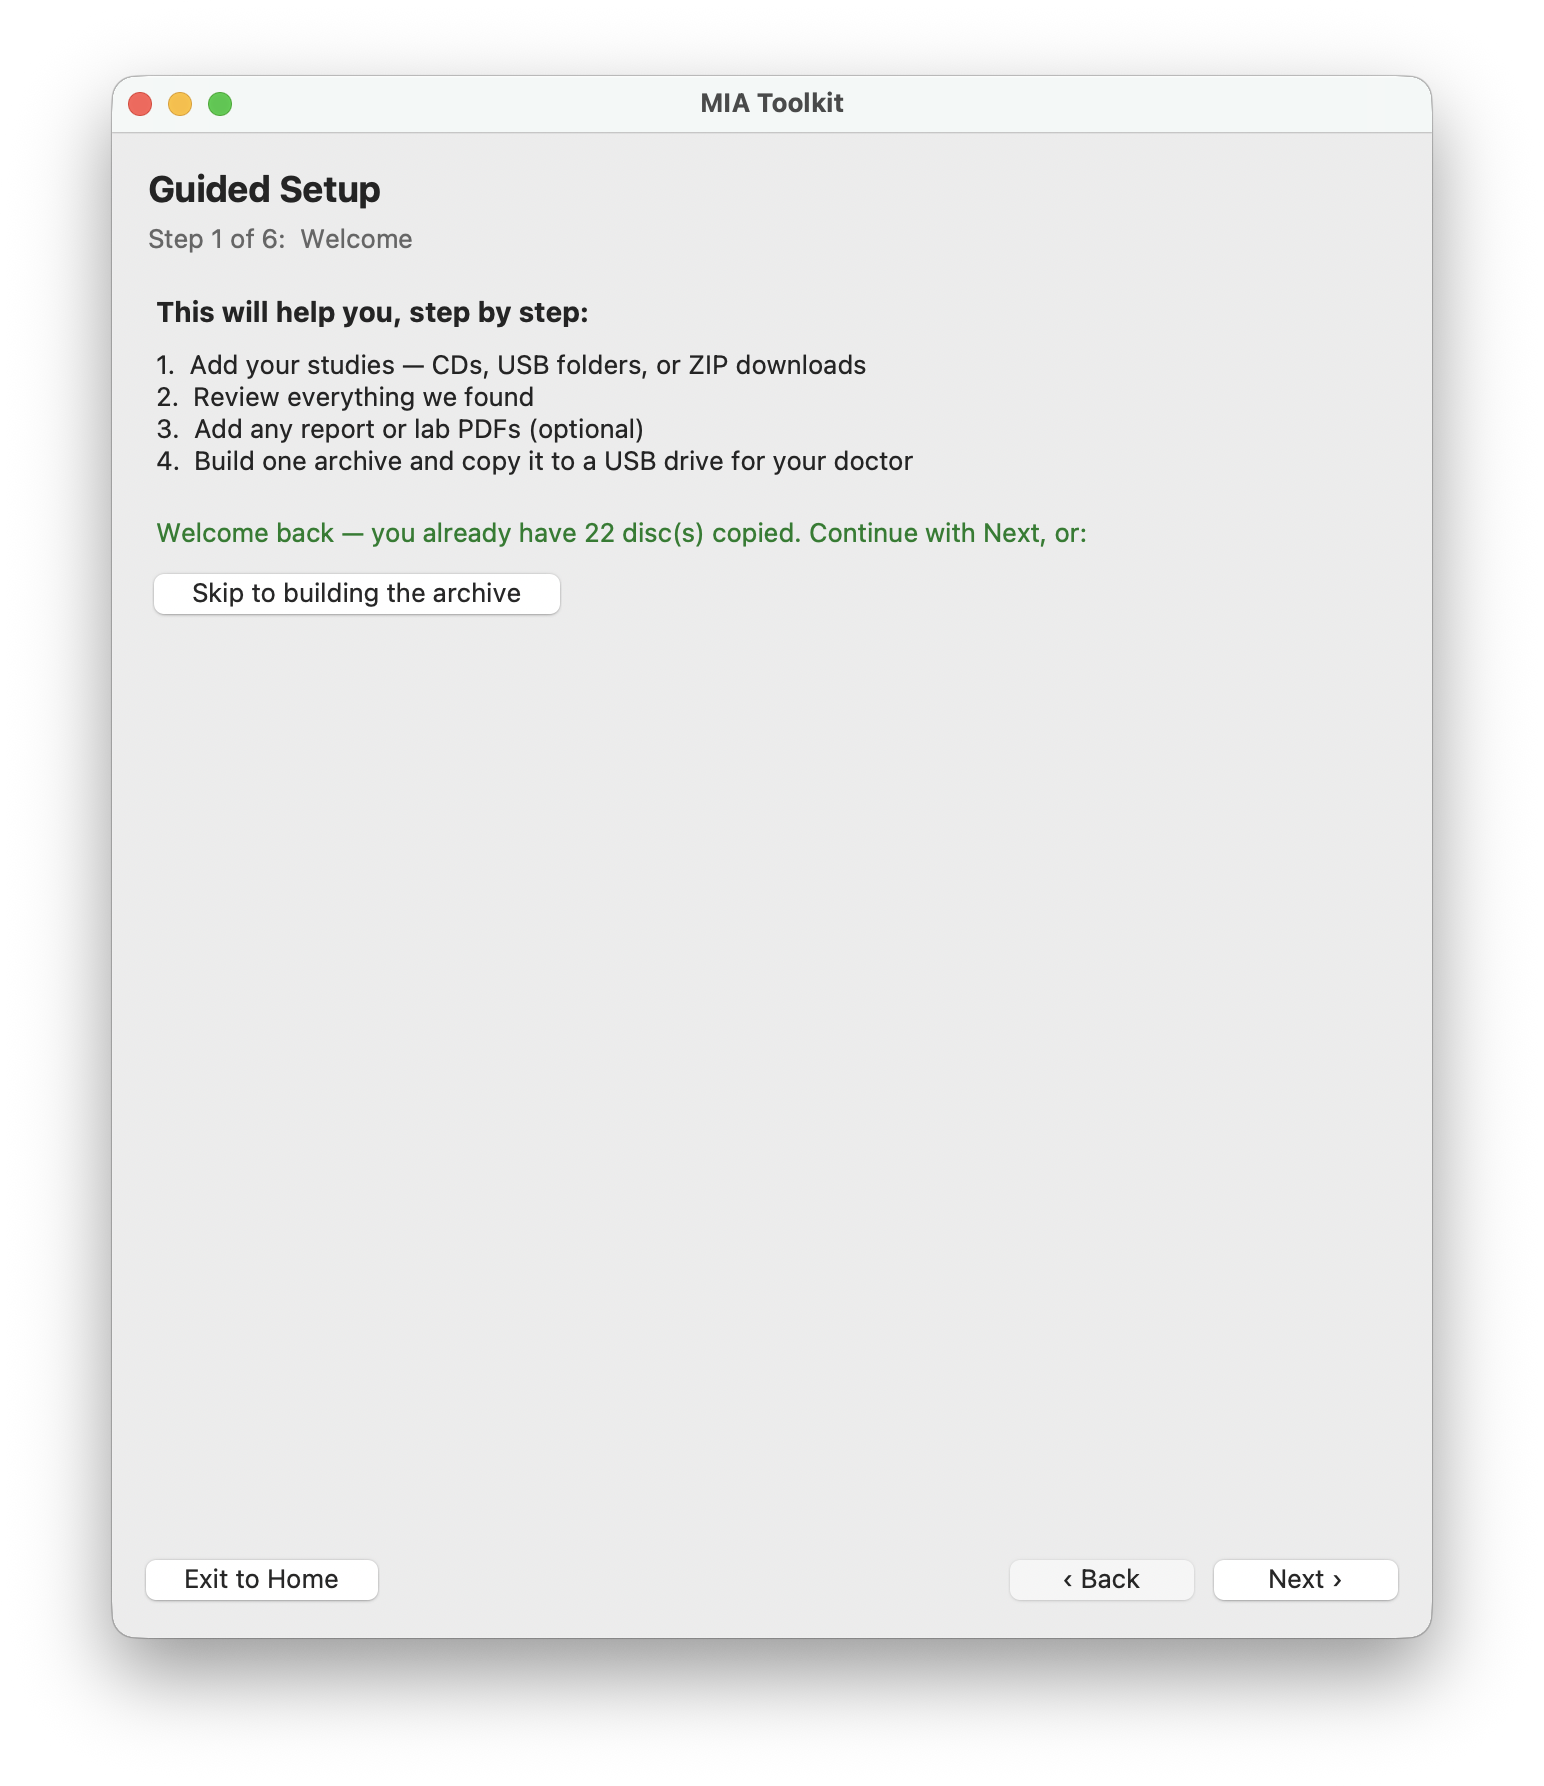
Start: Guided Setup
Open the app and choose Guided Setup. The welcome screen explains the stages ahead. If you have used the app before, it picks up where you left off — you can even skip straight to building the archive.
1 · Add your studies
Add your imaging three ways: insert a CD and the app copies and ejects it automatically, import a folder from a USB drive, or import a downloaded ZIP from a hospital patient portal. Repeat for every disc — the app keeps a running count.

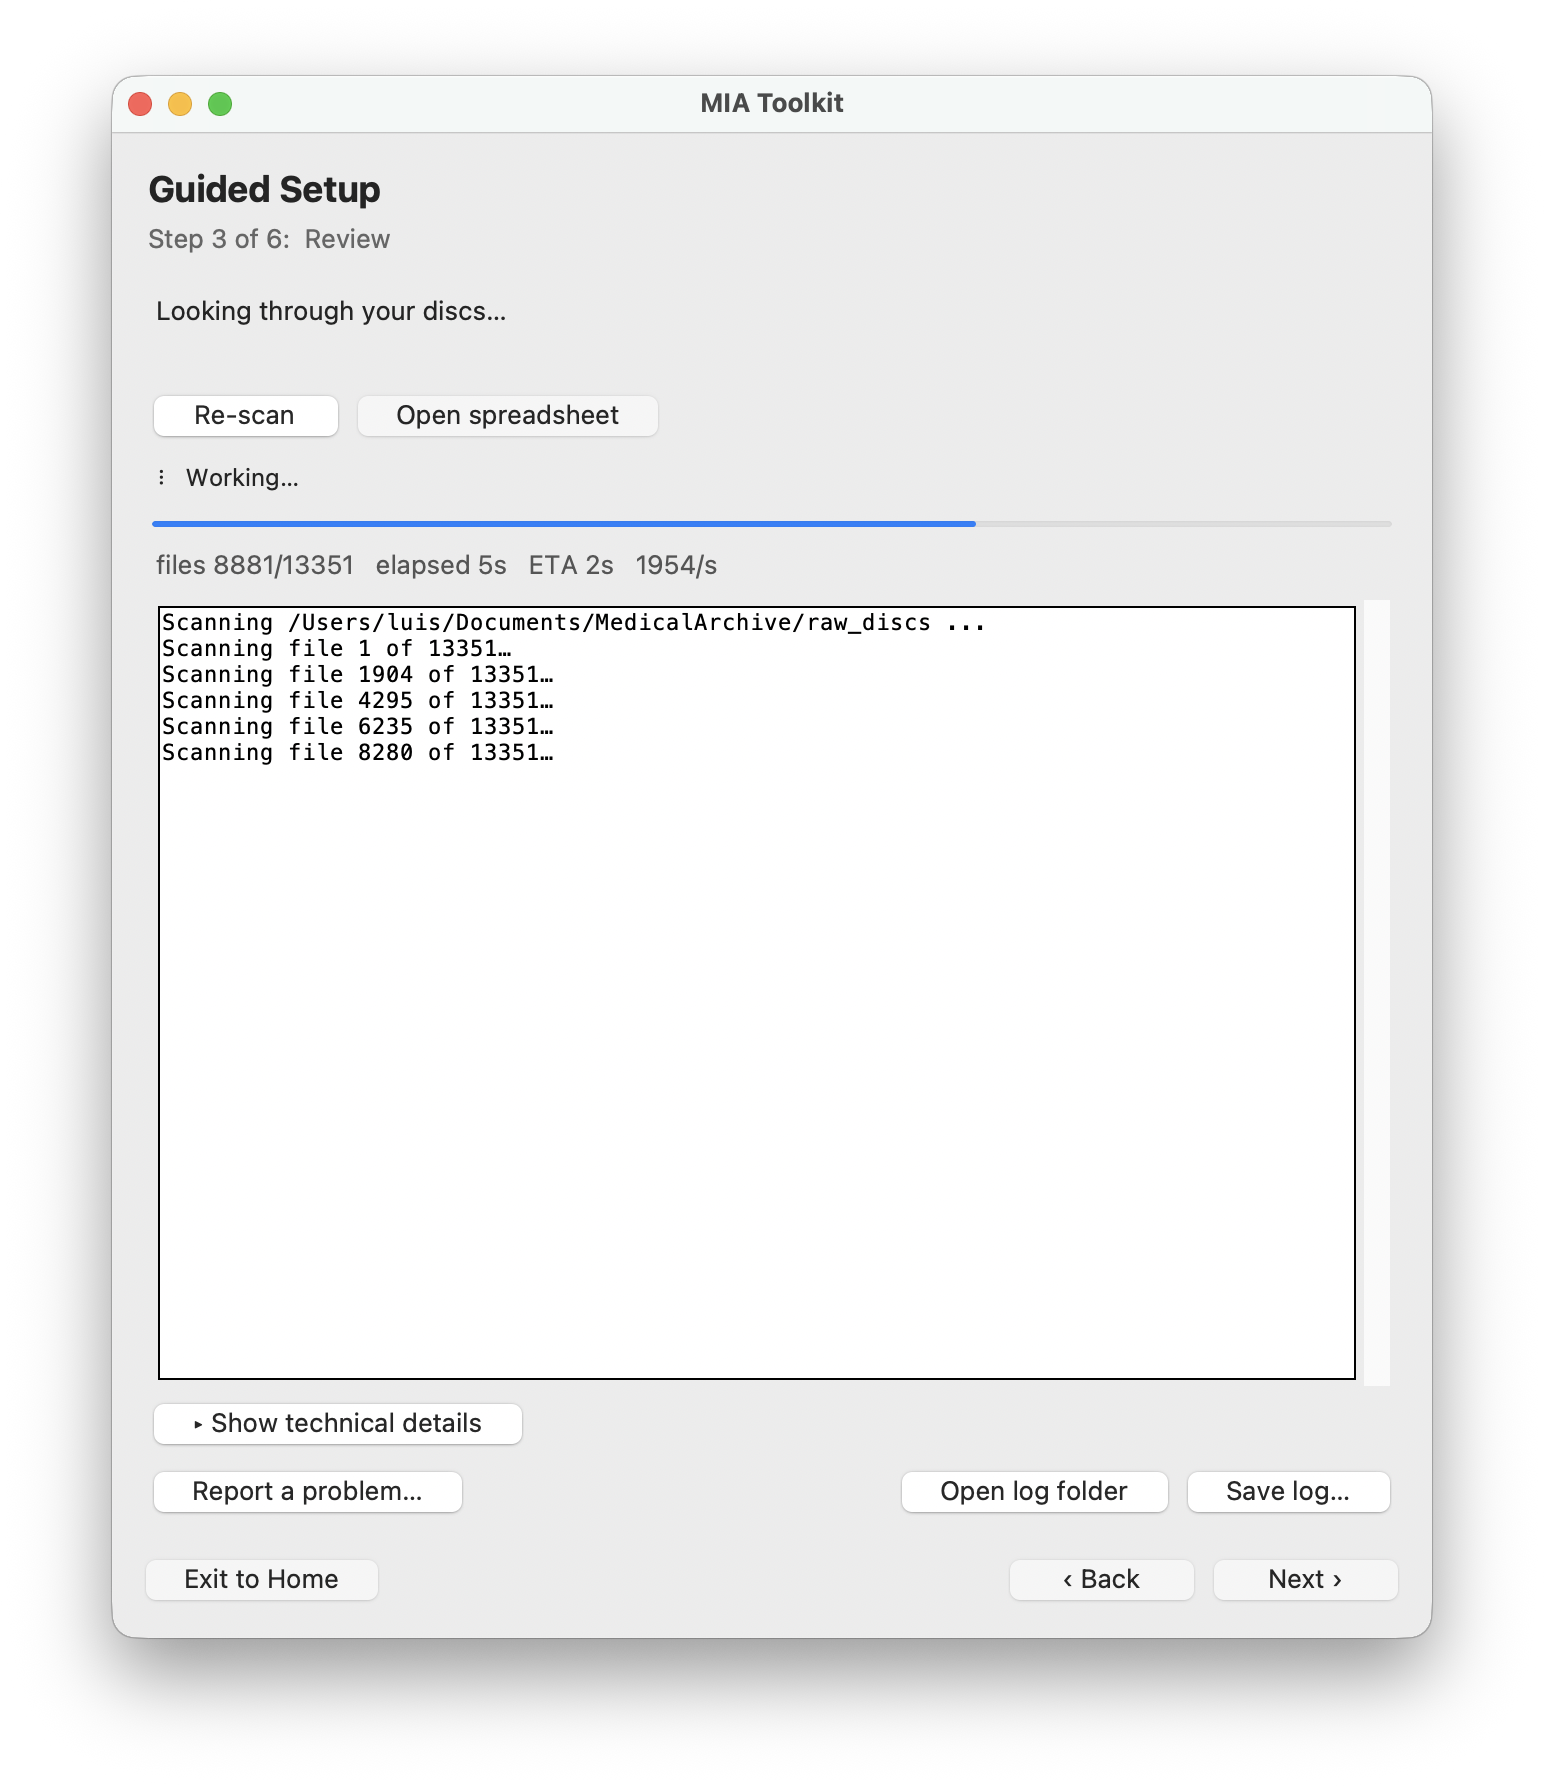
2 · Review the inventory
The app scans everything you added and lists every study it found. Open the spreadsheet to see a clear, plain-language inventory — patient, study, date, and modality. If discs from more than one person are mixed in, it warns you.
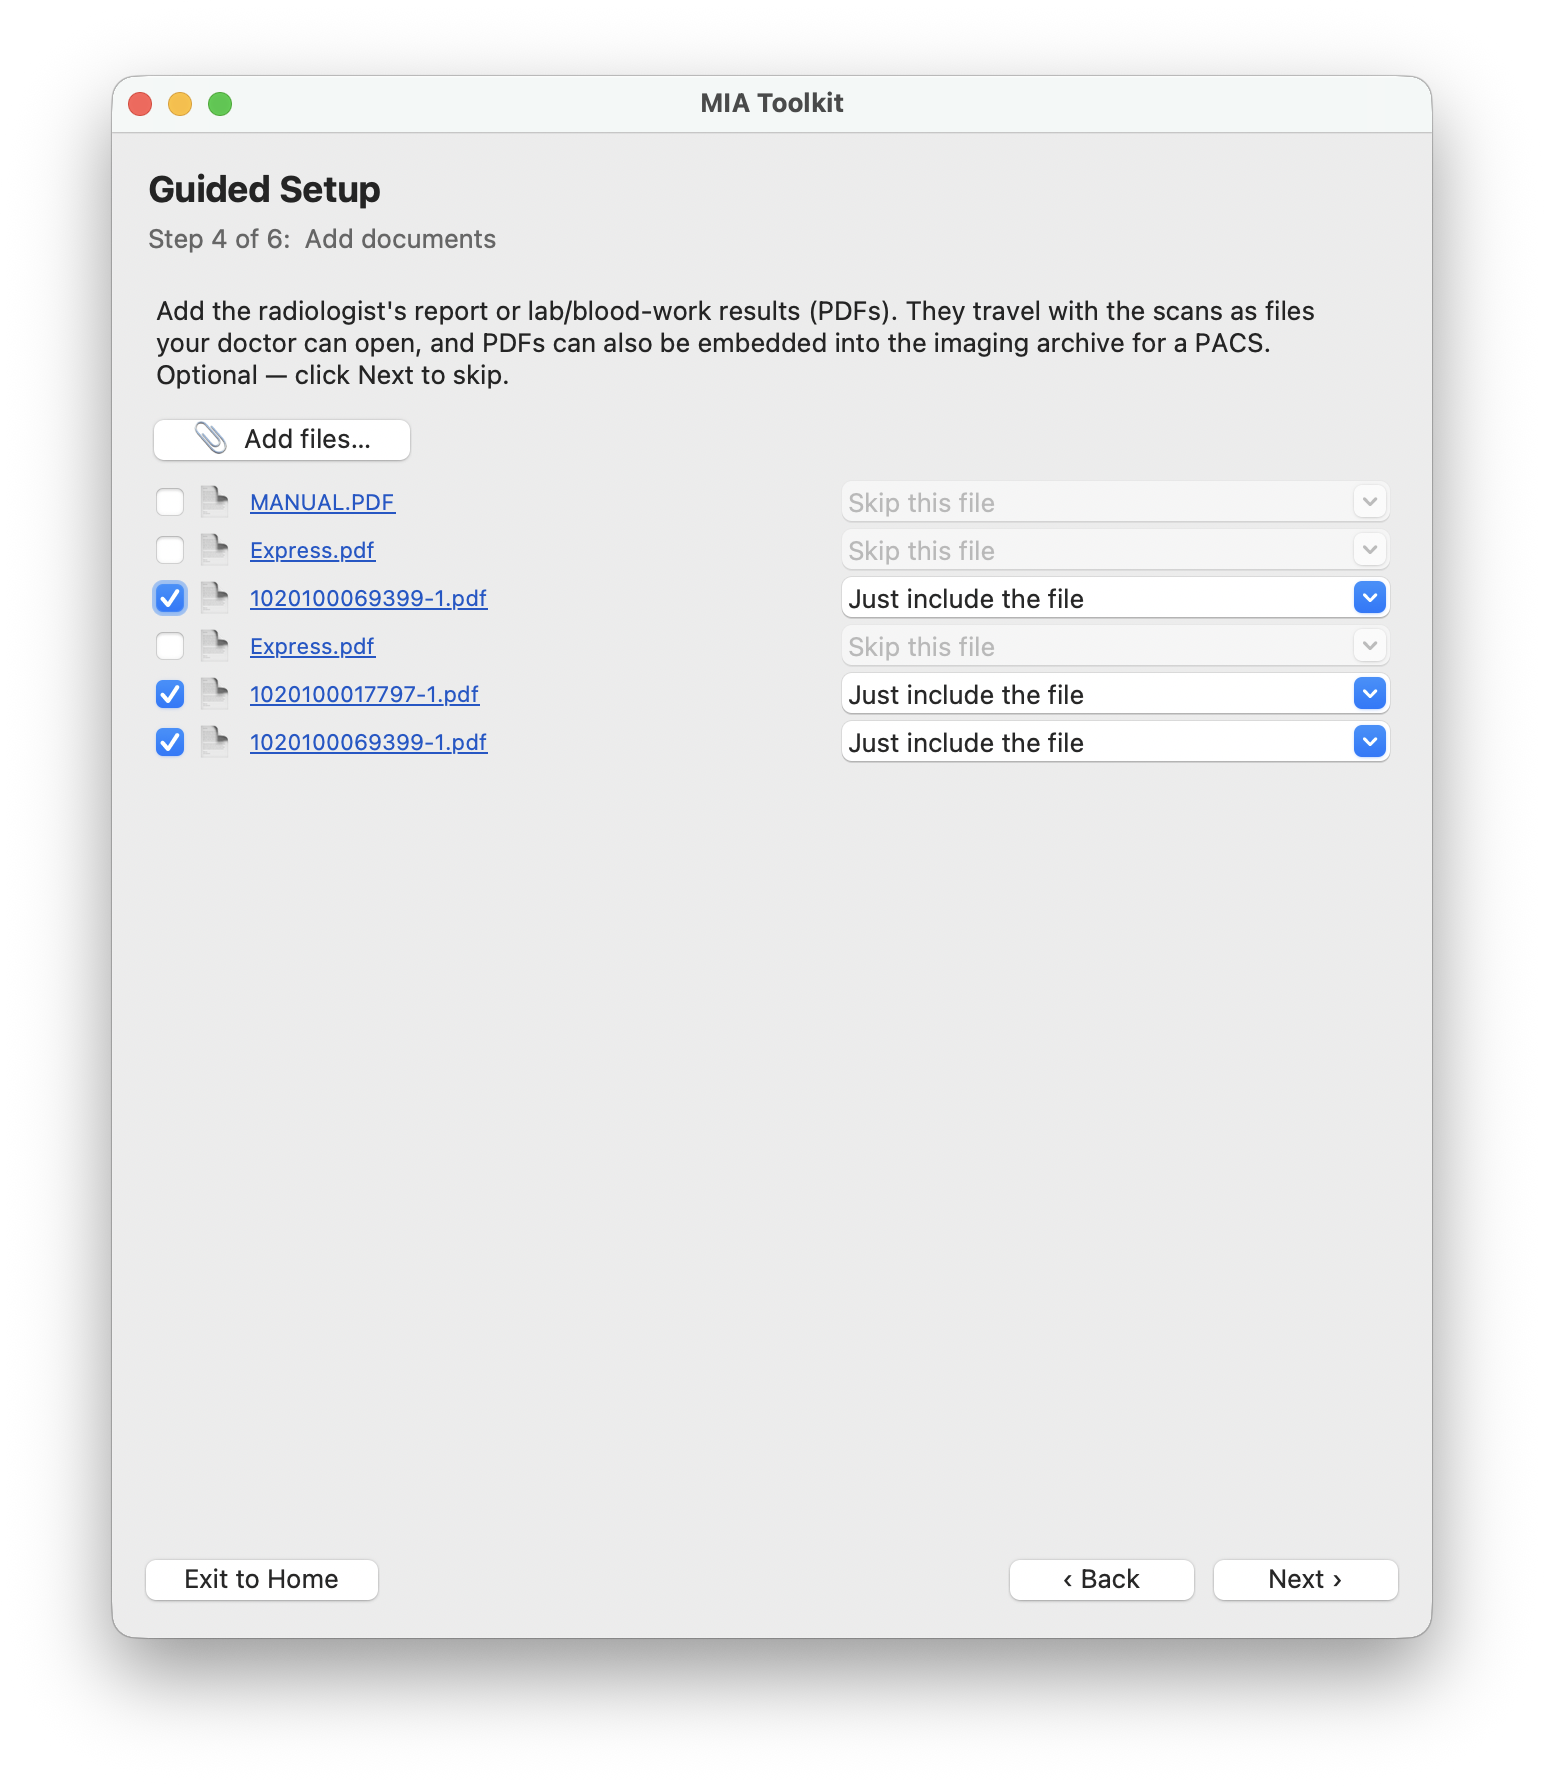
3 · Add documents (optional)
Add report or lab PDFs so they travel with the images. The app also finds PDFs already on the discs you imported. Tick the ones to include, and they are saved as plain files your doctor can open and embedded into the archive.
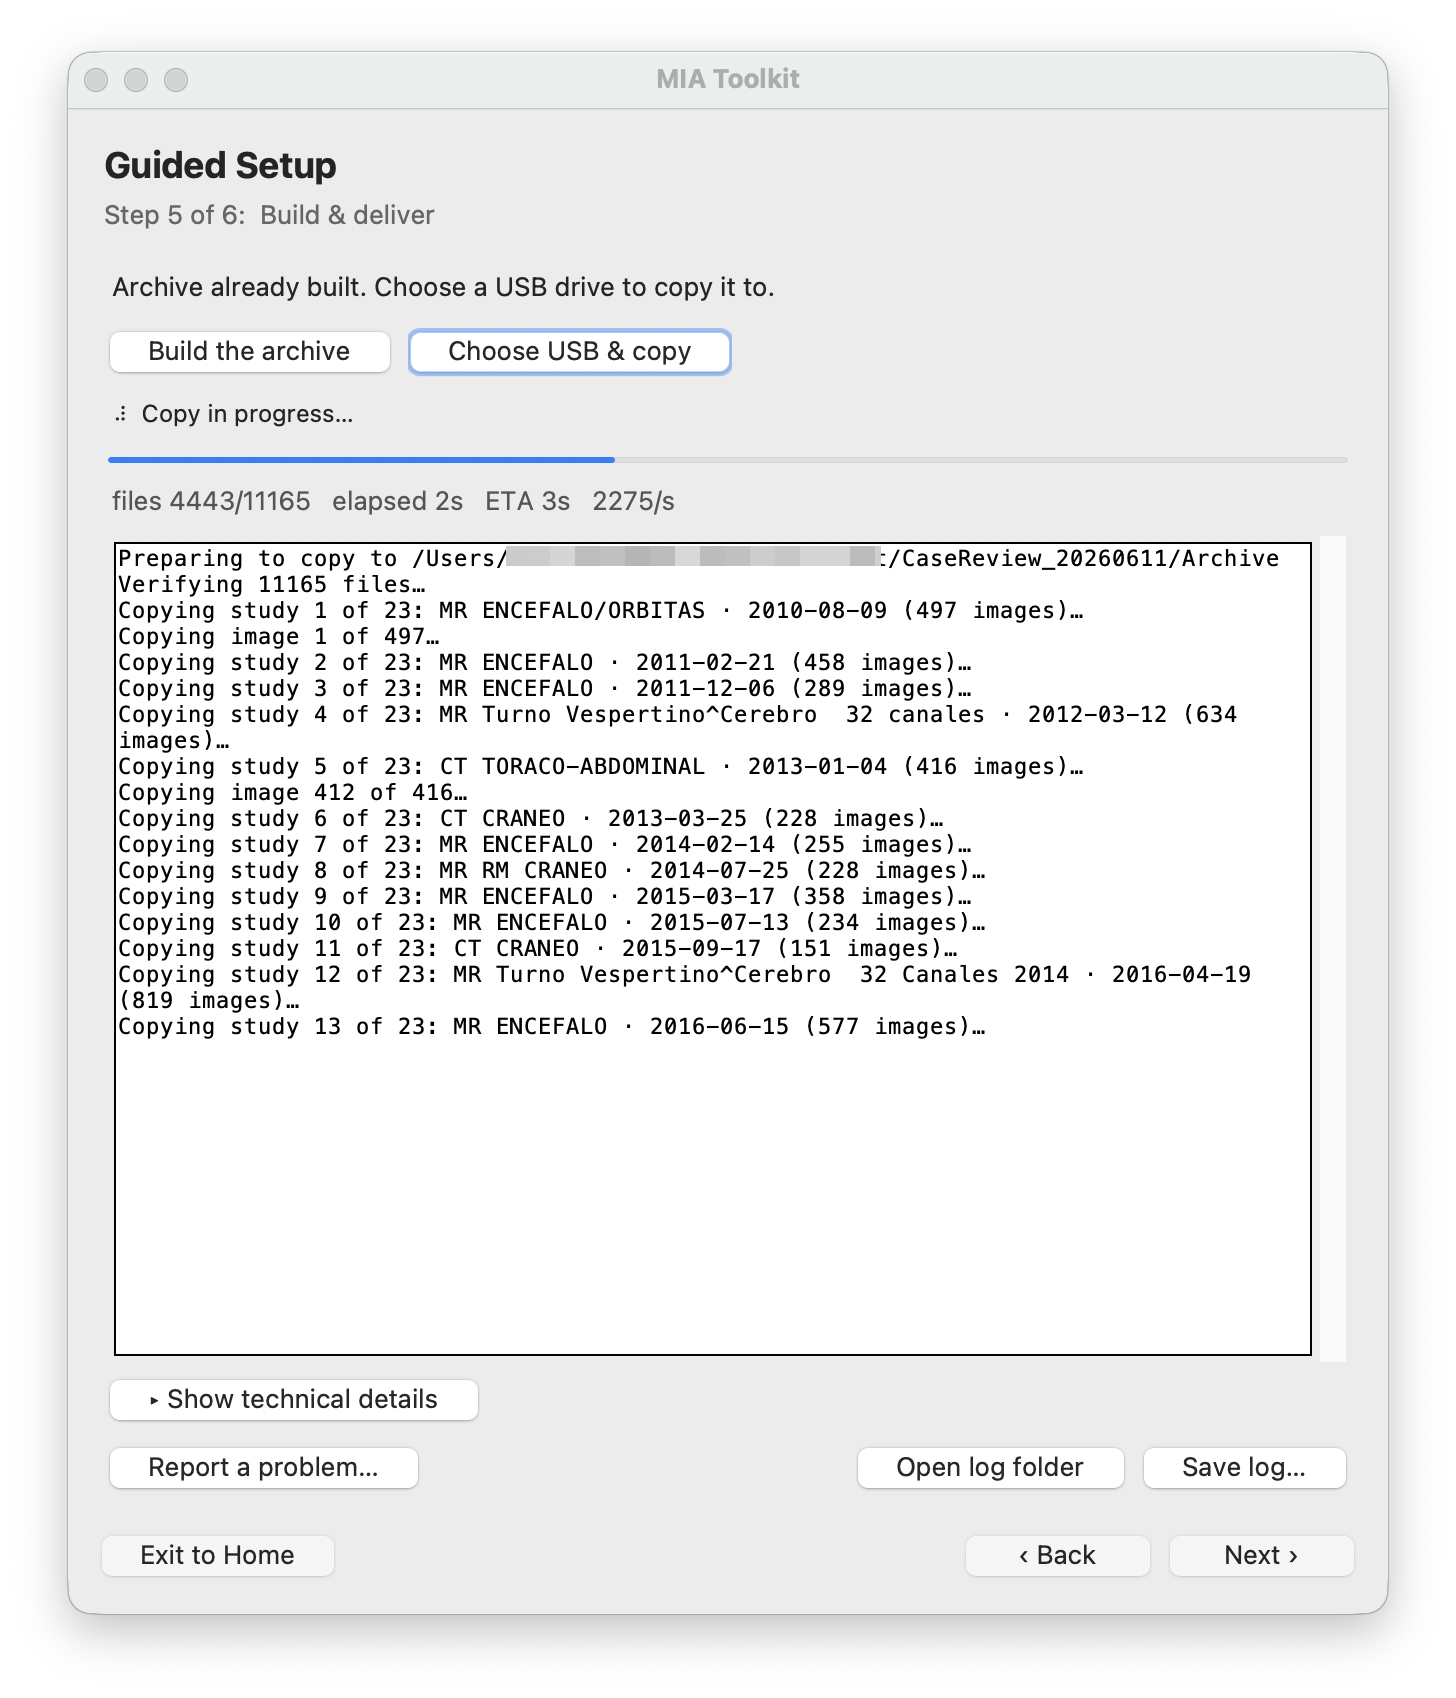
4 · Build and deliver
Build the archive — the app combines everything into one standards-compliant DICOMDIR. Then choose your USB drive and copy. Every file is verified by checksum as it copies, so a failing or fake drive is caught instead of silently corrupting your scans.
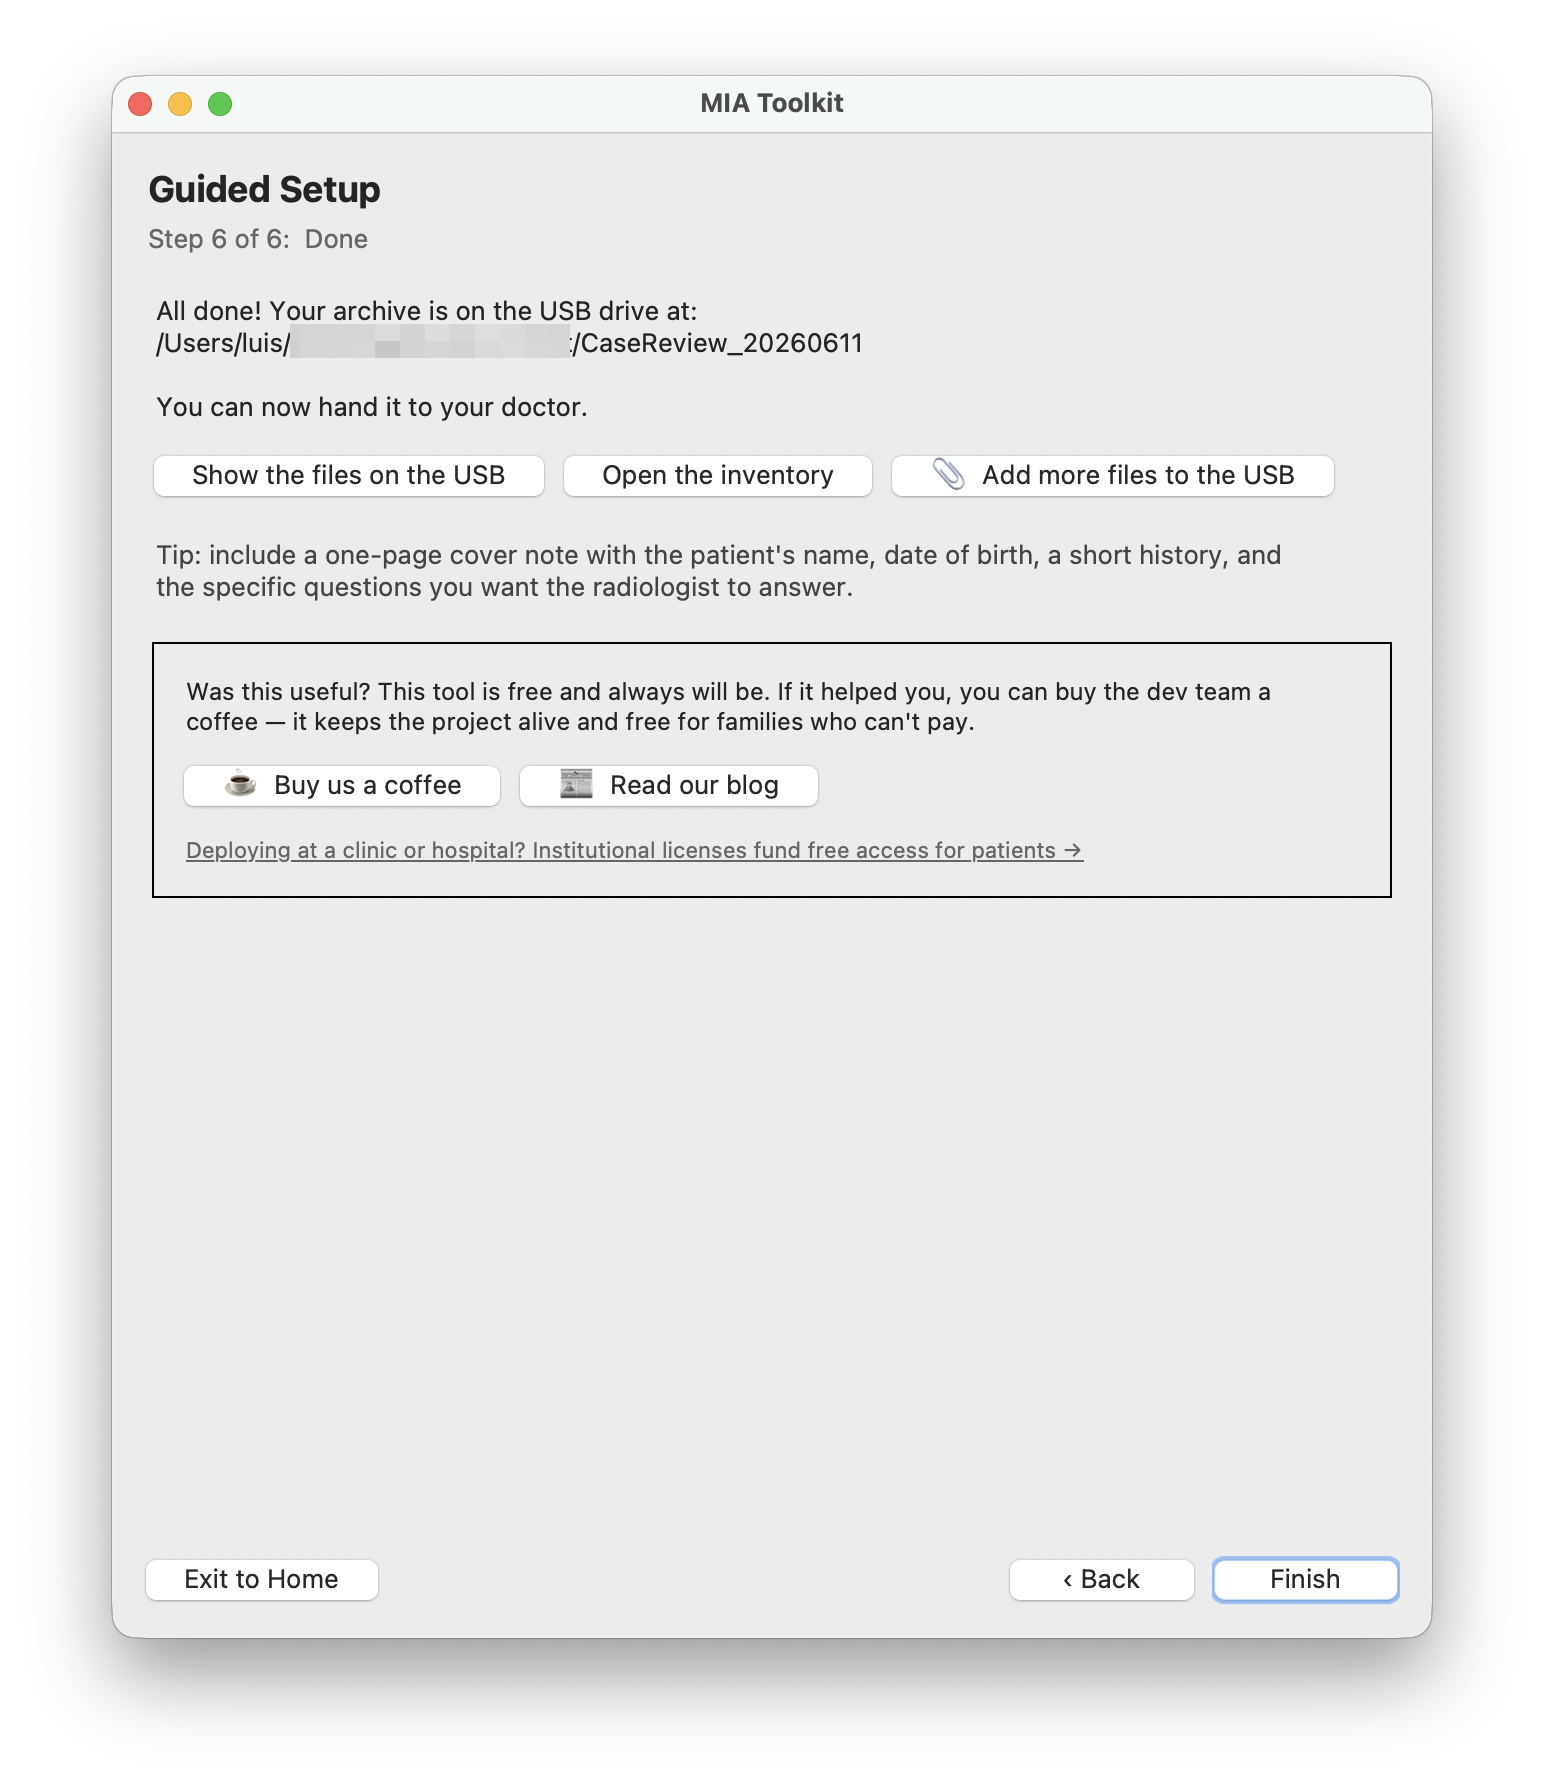
5 · Done
That is it. The screen shows where the archive landed on the USB; you can open the folder or the inventory, or add more files. Hand the single USB drive to your doctor — everything loads together.
Common tasks
Open a hospital imaging CD on Mac or Windows
Insert the disc in Add your studies and the app copies it for you — no separate CD viewer needed, even if the disc’s own software won’t run on your computer. See the step →
Combine many discs onto one USB
Add every disc, then build one archive and copy it to a USB. Years of scans from different hospitals end up in a single organized drive. See the step →
Import a USB folder or a portal ZIP
No disc? Import a folder from a USB drive, or a ZIP you downloaded from a hospital patient portal — the same review and build steps follow. See the step →
Add report or lab PDFs
Include written reports alongside the images so your doctor has the full picture in one place. See the step →
Give the archive to your radiologist
Hand over the one USB drive. It opens in any PACS or DICOM viewer, so every prior study can be compared at once. See the step →
Troubleshooting
A CD won’t read or is scratched
Clean the disc and try again; old discs read slowly, so give it time. If a disc is unreadable, the others still import — you can deliver what was recovered and note the gap.
The copy is extremely slow or looks frozen
Small medical files are slow to copy, so the progress can crawl — that is normal. But a copy running at a tiny fraction of normal speed usually means a failing or counterfeit USB stick; try a different, good-quality drive.
It warns about multiple patients
That means discs from more than one person were added. Check the inventory spreadsheet and remove anything that does not belong before building, so each person’s archive stays separate.
Windows says ‘unidentified publisher’
The Windows installer is not code-signed yet, so Windows may show a SmartScreen prompt. Choose More info, then Run anyway. The macOS build is signed and notarized; Windows signing is on the way.
A disc has no images the app can find
Some discs only contain a viewer, not standard DICOM images. MIA Toolkit detects DICOM by its content, not the file extension — but if a disc truly holds no DICOM data, there is nothing to import from it.
Questions & answers
Is MIA Toolkit really free?
Yes — free and open source for patients and families, forever. Donations and institutional licenses keep it that way, but individuals never pay.
Is my data private? Does it upload anything?
Everything stays on your computer. There is no account, no cloud, and no tracking, and the app does not need an internet connection to work.
What are DICOM and DICOMDIR?
DICOM is the standard format medical images are stored in; a DICOMDIR is the index file that lets a viewer or hospital PACS load a whole archive at once. MIA Toolkit builds both for you.
Is this a diagnostic tool?
No. It organizes, copies, and delivers your images — it does not interpret them, is not a medical device, and does not replace professional radiological review.
Which computers does it run on?
macOS 12 or newer, and Windows 10 or 11 (64-bit).
Do I need the internet?
No. The app works completely offline; you only need a connection to download it the first time.
Can my doctor open the USB?
Yes. The archive is standards-compliant DICOM, so it loads in any hospital PACS or DICOM viewer.
My images came as a ZIP from a portal — can I use those?
Yes. Import the ZIP in Add your studies and it is treated like any other source.
Get MIA Toolkit
Free, forever. Download it, organize your scans, and bring them to your next appointment on one USB.